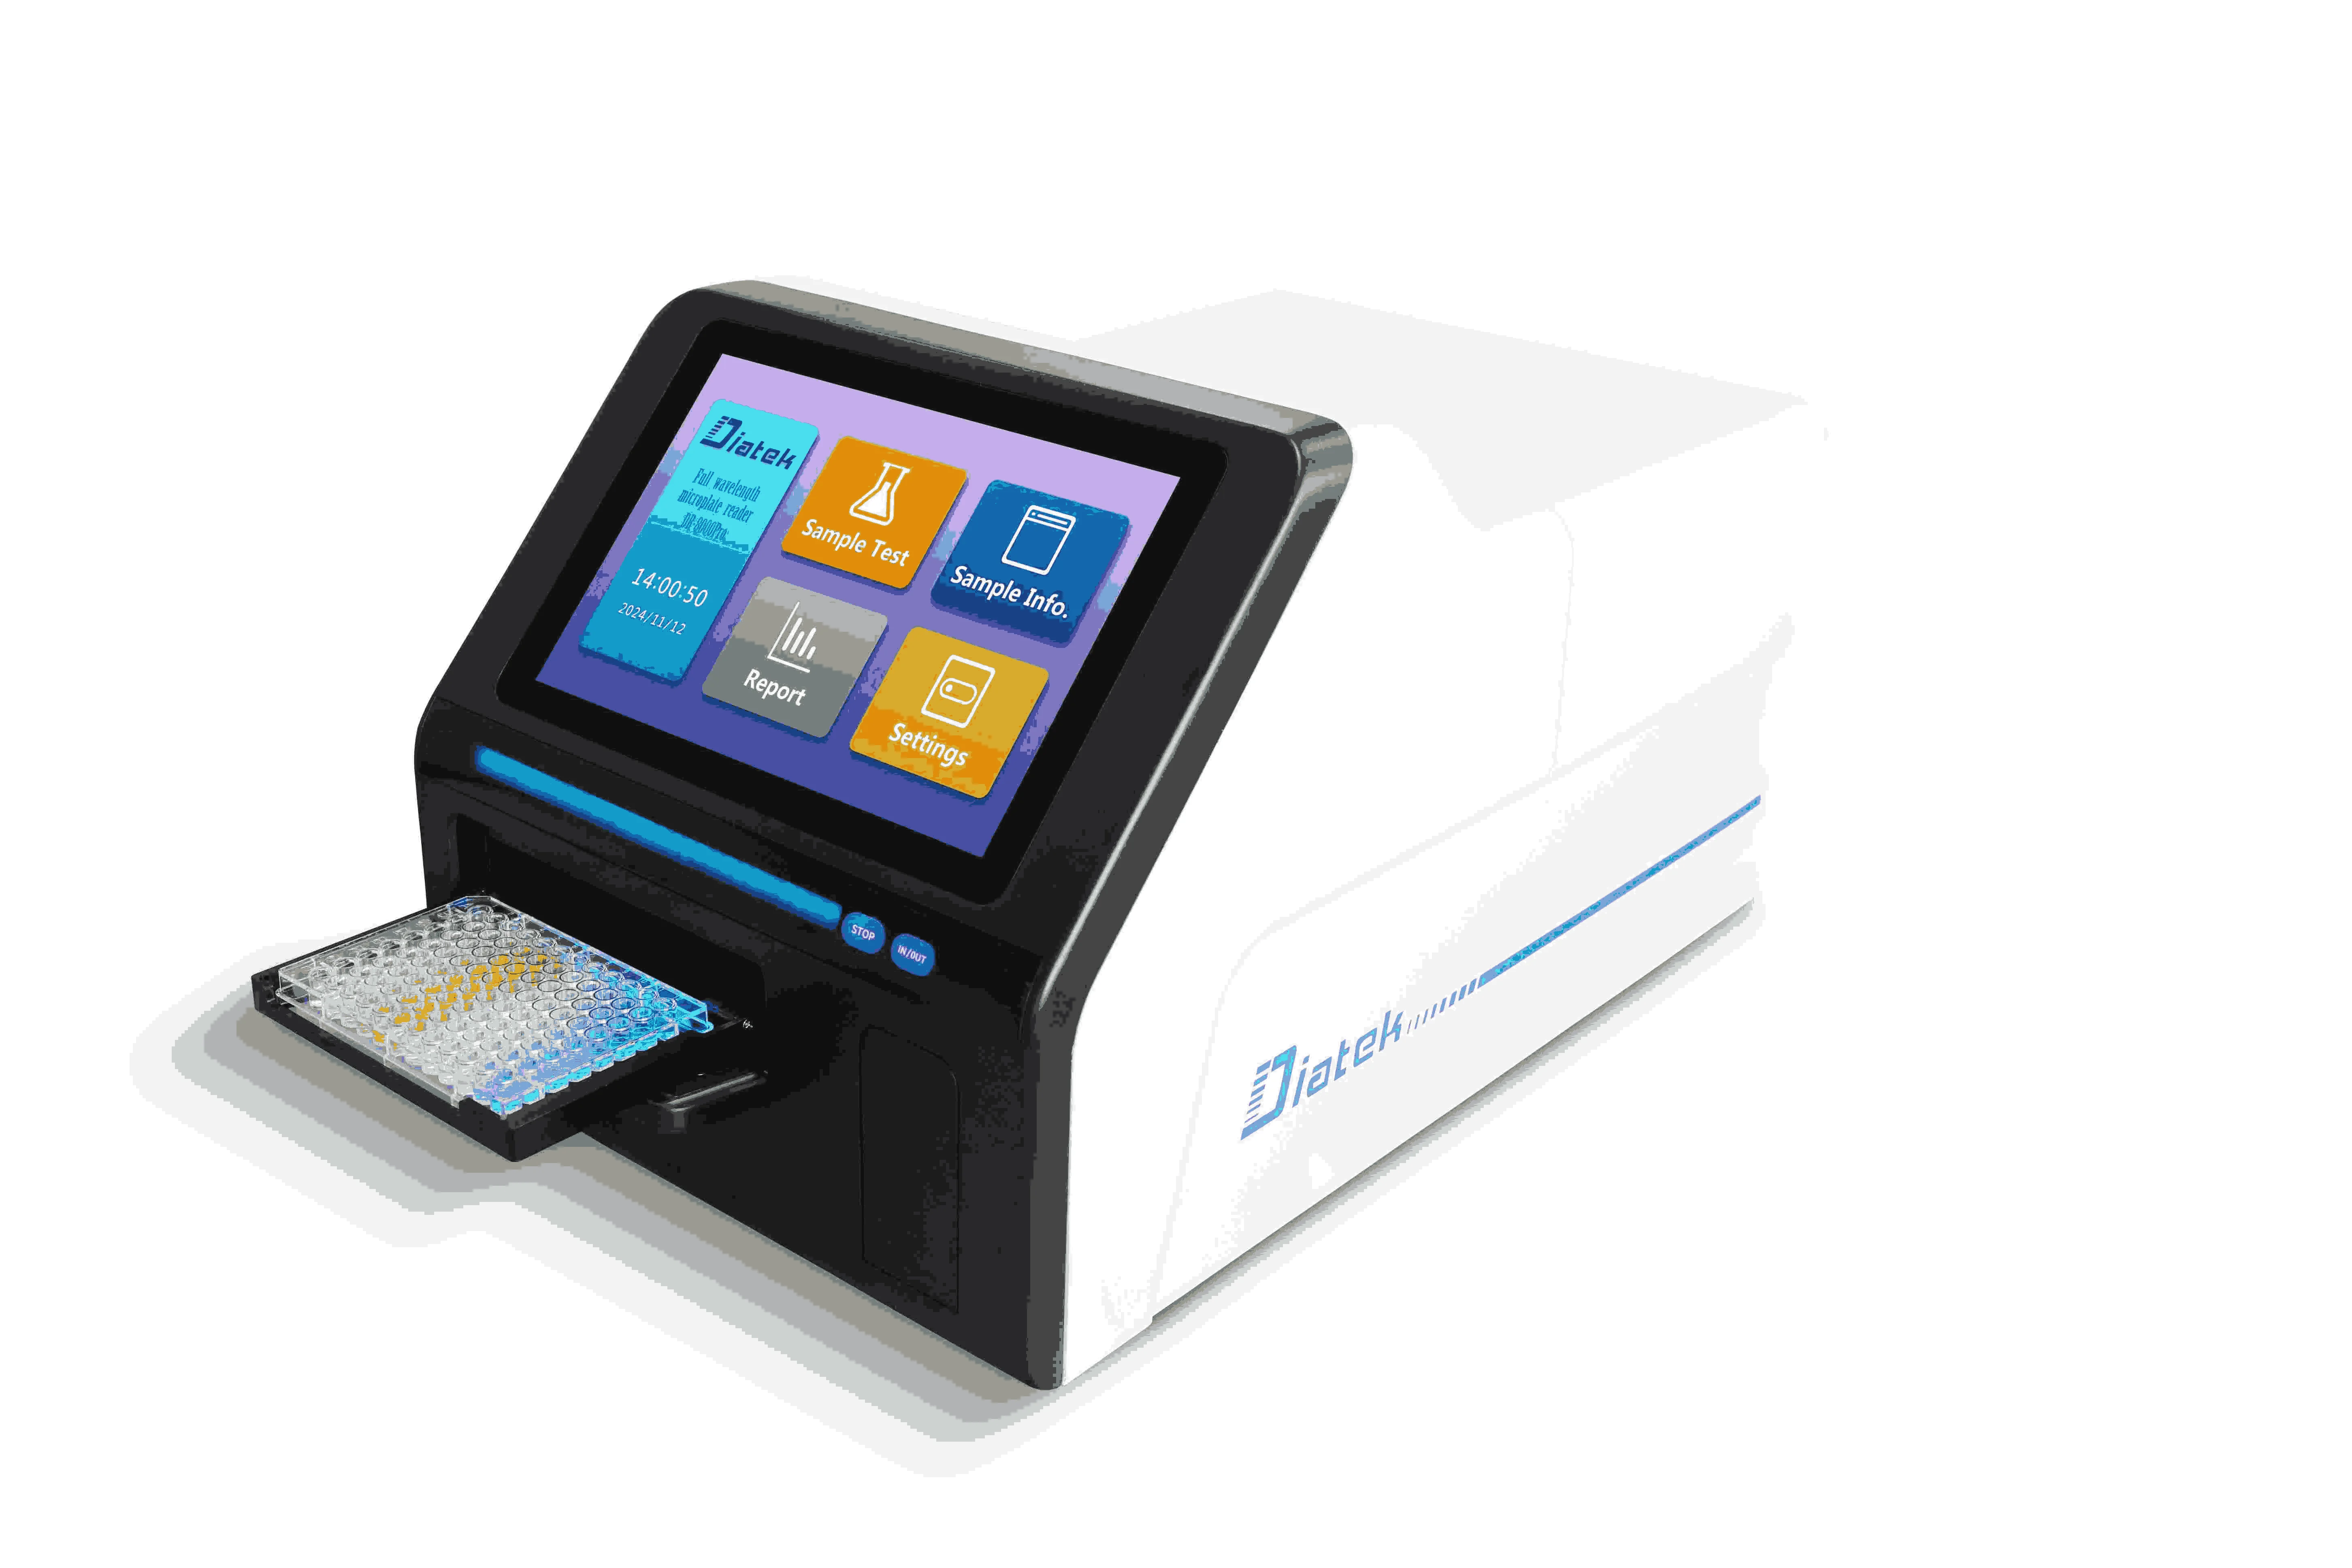
Microplate readers are essential instruments in laboratories, enabling researchers to perform high-throughput screening and quantitative analysis efficiently. The DR-8000 Series Microplate Reader from DIATEK is designed for a variety of applications, including UV and absorbance detection, protein quantitative analysis, and cytotoxicity testing. This guide will walk you through the steps to use a microplate reader effectively, ensuring accurate results and optimal performance.

Step 1: Preparation Before Use
1.1 Read the Manual
Before operating the DR-8000 Series, familiarize yourself with the user manual. Understanding the specifications, features, and safety instructions is crucial for effective operation.
1.2 Gather Your Materials
Ensure you have all necessary materials ready:
- Microplates (96-well, 384-well, etc.)
- Samples to be tested
- Reagents needed for your assays
1.3 Inspect the Equipment
Conduct a thorough inspection of the microplate reader:
- Check for any visible damage.
- Ensure that the optical components are clean and free from obstructions.
Step 2: Setting Up the Microplate Reader
2.1 Power On the Device
Turn on the microplate reader and allow it to warm up as recommended in the manual. This ensures that all components reach optimal operating conditions.
2.2 Select Language Settings
The DR-8000 Series comes with built-in language packs (including English, Spanish, French, and more). Set your preferred language for ease of use.
2.3 Configure Wavelength Settings
Select the appropriate wavelength for your assay. The DR-8000 has a wavelength range of 200–1000 nm, allowing for flexibility in various applications.
Step 3: Loading Samples
3.1 Prepare Your Microplates
Carefully pipette your samples into the designated wells of the microplate. Ensure that there are no air bubbles trapped in the wells, as this can affect readings.
3.2 Insert the Microplate
Place the microplate into the reader’s sample compartment securely. Ensure it is aligned correctly according to the manufacturer's guidelines.
Step 4: Running the Assay
4.1 Select Assay Parameters
Using the software interface, select your assay parameters, including:
- Wavelength(s)
- Reading mode (absorbance, fluorescence, etc.)
- Number of reads per well
4.2 Start the Measurement
Initiate the measurement process by pressing the start button on the interface. Monitor progress through the display screen.
Step 5: Analyzing Results
5.1 Retrieve Data
Once measurements are complete, retrieve data from the microplate reader’s software. The DR-8000 Series provides real-time data analysis capabilities.
5.2 Export Data
Export your results in your preferred format (CSV, Excel, etc.) for further analysis or reporting.
Step 6: Post-Operation Procedures
6.1 Clean Up
After completing your assays:
- Remove and dispose of used microplates according to laboratory protocols.
- Clean any spills or residues from the microplate reader surface.
6.2 Power Down
Turn off the microplate reader and ensure it is stored properly to prevent damage.
Step 7: Regular Maintenance
7.1 Schedule Routine Checks
To ensure longevity and accuracy:
- Schedule regular maintenance checks as per DIATEK’s recommendations.
- Clean optical components periodically to maintain performance.
7.2 Update Software
Keep your microplate reader's software updated to benefit from new features and improvements.
Conclusion
Using a microplate reader like the DR-8000 Series from DIATEK effectively can significantly enhance your laboratory's productivity and accuracy in assays. By following this step-by-step guide, you can ensure proper operation while maximizing your research outcomes. If you have any questions or require further assistance with your microplate reader, don’t hesitate to reach out to DIATEK for expert support!
