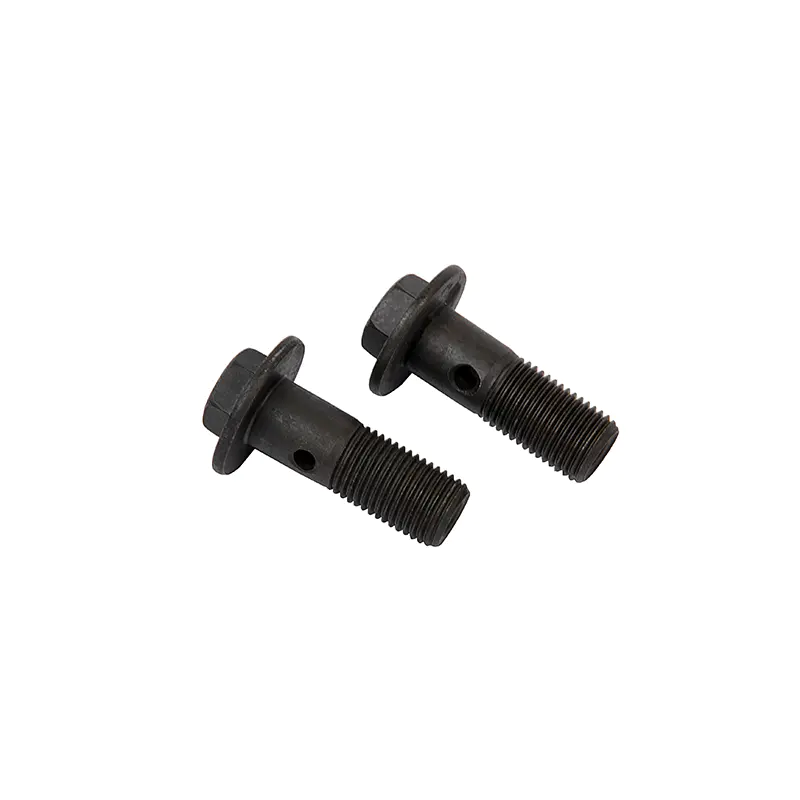
The Intake Engine Variable Valve Timing Fastening Bolt is a small yet indispensable component that secures the variable valve timing (VVT) actuator to the intake camshaft in modern engines. Without the Intake Engine Variable Valve Timing Fastening Bolt, precise camshaft phasing would be impossible, leading to reduced power, poor fuel economy, and increased emissions. Before beginning any installation, always verify that the Intake Engine Variable Valve Timing Fastening Bolt matches the OEM part number; a single digit or thread pitch deviation can compromise the entire system. Begin by cleaning the threads in the camshaft nose with a dedicated chasing tap so that the Intake Engine Variable Valve Timing Fastening Bolt can seat fully without galling. Next, apply a calibrated drop of thread-locking compound to the first three threads of the Intake Engine Variable Valve Timing Fastening Bolt, ensuring even distribution without excess that could drip into the timing cover. Torque the Intake Engine Variable Valve Timing Fastening Bolt to the manufacturer’s specification—commonly 35 lb-ft plus an additional 90-degree angle turn—to achieve the required clamp load. After the Intake Engine Variable Valve Timing Fastening Bolt is tightened, rotate the crankshaft through two complete revolutions and confirm that the timing marks align perfectly; any deviation indicates the Intake Engine Variable Valve Timing Fastening Bolt may not have pulled the actuator fully onto the camshaft taper. Inspect the hex head of the Intake Engine Variable Valve Timing Fastening Bolt for burrs that could complicate future removal; dress lightly with a file if necessary. Finally, record the date and mileage in the service log so the next technician knows exactly when the Intake Engine Variable Valve Timing Fastening Bolt was last touched. Following these steps ensures that the Intake Engine Variable Valve Timing Fastening Bolt will maintain its clamp load for the full service interval, safeguarding engine performance and longevity.
