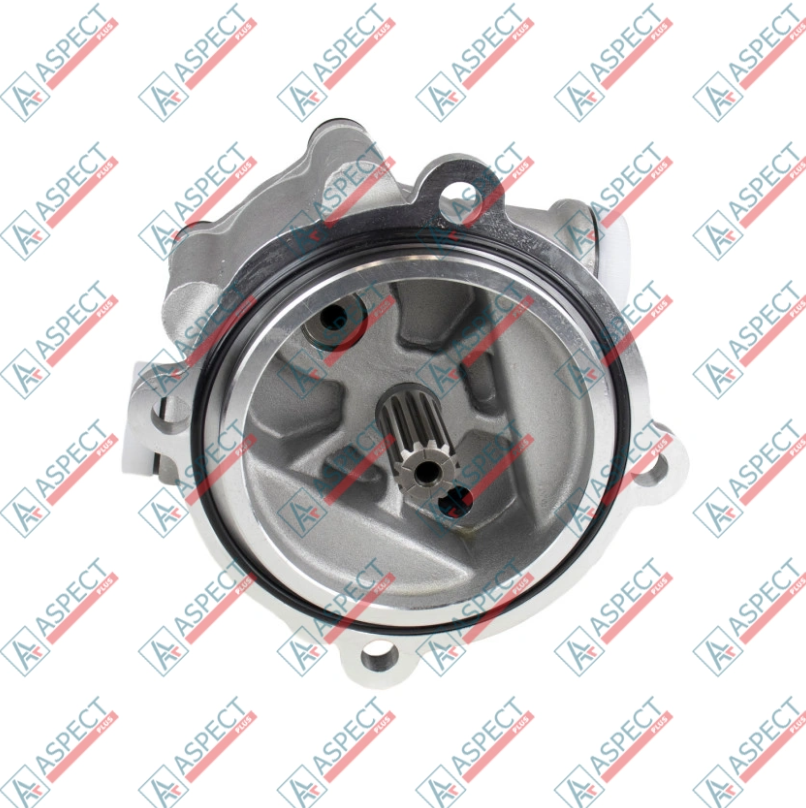
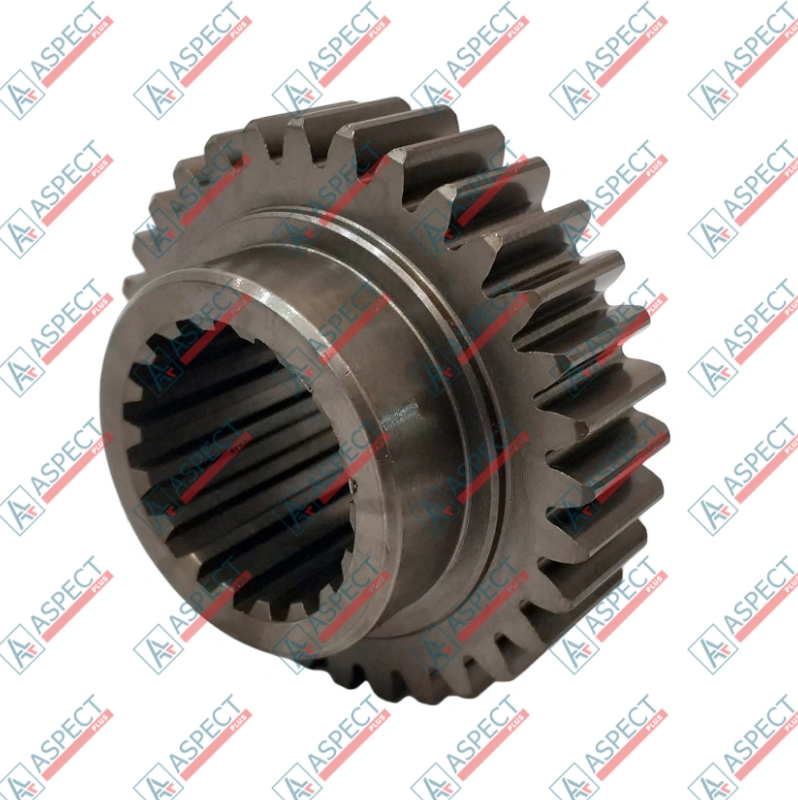
The Kawasaki K3V112 is one of the most widely respected and utilized hydraulic pumps in the heavy equipment industry, serving as the heart of countless 20-30 ton excavators from manufacturers like Doosan, Kobelco, and Hitachi. While the pump itself is a robust axial-piston unit, its performance - its ability to deliver both high speed and high power precisely when needed - is dictated entirely by its regulator.
The regulator is the "brain" of the pump. When an operator reports "power loss" or "slow response," the immediate assumption is often a catastrophic failure of the main pump's rotating group. However, in many cases, the expensive pump internals are fine, but the comparatively small, complex regulator has failed. This article provides an expert diagnostic guide to the Kawasaki K3V112 pump regulator, detailing the causes of failure and the correct repair methods.
The Function of the K3V112 Regulator: A Precision Balancing Act
The K3V112 regulator is a sophisticated hydraulic-mechanical computer. Its sole job is to adjust the swashplate angle inside the pump. This angle determines how much oil the pump's pistons displace with each rotation.
- For High Speed (e.g., booming down): The regulator senses low pressure (low demand) and moves the swashplate to its maximum angle, delivering full hydraulic flow for fast cycle times.
- For High Power (e.g., hard digging): As the operator hits hard ground, pressure skyrockets. The regulator senses this high pressure and automatically "de-strokes" the pump (reduces the angle). This reduces flow but allows the system to maintain maximum pressure without stalling the engine.
This is the pump's "power curve" or "torque control." A faulty regulator breaks this balance, forcing the pump to choose between speed and power, or delivering neither.

Common Symptoms of Regulator Failure
When a K3V112 regulator malfunctions, the symptoms are often misdiagnosed as a weak engine or a completely failed pump.
- Severe Power Loss / Engine Stalling (Bogging Down): This is the most common symptom. The operator attempts to dig, and the engine chokes and dies (or nearly dies). This means the regulator is failing to de-stroke the pump. It is stuck at a high-flow position, demanding 100% flow and 100% pressure simultaneously - a load that exceeds the engine's horsepower limit.
- Slow Cycle Times / Slow Response: This is the opposite problem. The machine feels "lazy" and weak. The operator moves the joysticks, but the boom and arm move slowly, even if the engine is at full RPM. This indicates the regulator is stuck in a de-stroked (low-flow) position, unable to command the pump to produce maximum flow when needed.
- Erratic or Unstable Operation: The hydraulic functions may seem jerky, or the pump may "hunt" (oscillate) between high and low flow. This suggests sticking spools or contamination inside the regulator, causing it to send erratic signals to the swashplate.
- Inability to Meet Pressure Specifications: During a pressure test, the pump may fail to reach its maximum cut-off pressure or fail to return to the correct standby pressure, pointing directly to a miscalibrated or failed regulator.
Primary Causes of Kawasaki Regulator Failure
Regulators are precision instruments. They fail for three main reasons:
- Contamination (The #1 Cause): The regulator is a multi-stage valve block with tiny internal spools and orifices that are highly sensitive to contamination. A single microscopic particle of metal (from pump wear) or dirt (from the hydraulic fluid) can jam a spool or block a signal orifice. This is the most common cause of regulator failure.
- Worn Spools and Bores: After thousands of hours, the spools inside the regulator wear down. As they wear, high-pressure fluid leaks past them, eroding the valve body. This internal leakage means the pilot signals are no longer strong enough to move the spools correctly, leading to slow or non-existent response.
- Broken Springs or Incorrect Adjustment: The regulator uses a complex set of balanced springs. A fatigued spring, even if unbroken, will have lost its correct tension and must be replaced. More often, an untrained technician attempts to "fix" a slow pump by turning the regulator's adjustment screws without proper gauges, leading to severe engine lugging or power loss.
Diagnostics and Repair Methods
Do not immediately condemn the main pump. A systematic diagnostic approach must be followed.
Diagnostics: Isolating the Regulator
- Check Pilot Pressure: The regulator is controlled by pilot pressure from the joysticks. Before blaming the pump, verify that the pilot pressure is correct (typically 30-40 BAR). If pilot pressure is weak, the regulator will not function.
- Stall Test (Pressure Diagnostics): This is the key test. Attach 600-BAR pressure gauges to the main outlet ports of the K3V112.
- Test 1: Standby Pressure. With the engine running and controls neutral, pressure should be low (e.g., 30-40 BAR).
- Test 2: Main Relief Pressure. Stall a hydraulic function (e.g., hold the bucket curl). The pressure should rise to the machine's specification (e.g., 350 BAR) and hold steady.
- Test 3: Power Curve Test. While stalled, listen to the engine. A healthy regulator will have de-stroked the pump to reduce flow, and the engine should be able to hold the load. If the engine chokes and dies, the regulator has failed to de-stroke the pump.
- Flow Testing: The most definitive test involves a flow meter to measure the pump's actual output (LPM/GPM) as the pressure is increased. This maps the pump's performance against the manufacturer's power curve. A deviation from this curve points directly to a regulator, not a rotating group, failure.
Repair Methods: A Task for Specialists
Repairing a Kawasaki regulator is a high-precision job.
- Disassembly in a Clean Environment: The regulator must be removed from the pump and disassembled in a clean, dust-free environment.
- Inspection and Lapping: All spools and bores must be meticulously cleaned and inspected for scoring. Minor scoring can sometimes be lapped (polished) to restore a smooth, sealing surface.
- Component Replacement: Replace all O-rings, seals, and springs with a high-quality regulator repair kit. A fatigued spring, even if unbroken, will have lost its correct tension and must be replaced. Worn or seized spools must also be replaced.
- Re-Installation and Bench Testing: The only reliable repair involves re-installing the rebuilt regulator onto the pump and calibrating the entire assembly on a hydraulic test bench. Adjusting the regulator screws "by feel" on the machine is a guess, not a repair. The bench test is the only way to verify the standby pressure, cut-off pressure, and the crucial power curve.
Our company, Aspect Plus, supplies the genuine-spec, high-quality regulator repair kits and individual components necessary for a professional Kawasaki K3V112 rebuild, ensuring the repair restores the pump to its original performance standards.
Conclusion
Power loss and slow response in a Kawasaki K3V112-equipped excavator are often incorrectly blamed on the entire pump. In many cases, the true culprit is a failed or contaminated regulator. This component is the brain of the pump, and its failure to balance flow and pressure results in a machine that is either weak or stalls the engine. Through systematic diagnostics, a technician can isolate the regulator as the cause. A successful, long-term repair is not about guesswork; it requires meticulous cleaning, the use of high-quality replacement parts, and, most importantly, final calibration on a hydraulic test bench to restore the pump's designed power curve.
For expert consultation on hydraulic diagnostics and a reliable source for high-quality Kawasaki regulator repair kits, contact the specialists at Aspect Plus.

