
Imagine pulling a cherished memory from your phone and recreating it in thread—a beloved pet’s goofy grin, a child’s first steps, a stunning landscape from a favorite vacation. This isn’t just a fantasy; it’s a creative craft waiting for you. The process to convert photo to embroidery pattern is a beautiful blend of modern technology and timeless needlework, allowing you to create deeply personal and textured art. While it presents a unique set of challenges, the results can be breathtakingly beautiful and incredibly rewarding.
This guide will demystify the process, giving you the knowledge and confidence to transform your pixel-perfect pictures into stunning stitched heirlooms.
Why Photo Embroidery is Different (And Trickier)
Let’s be honest: not every photo is a good candidate for embroidery. Unlike converting a simple graphic or logo, translating a photograph is the advanced mode of digitizing. Here’s why:
-
Shades vs. Thread: A photo contains millions of subtle color shades and gradients. Embroidery relies on a limited palette of solid thread colors. The magic lies in tricking the eye into seeing shades and depth where there are actually blocks of solid color.
-
Detail Dilemma: Fine details like individual strands of hair or tiny leaves on a distant tree often get lost in translation. The process requires simplifying the image while preserving its soul.
-
The 3D Texture: Unlike a flat print, embroidery adds a physical, textural dimension. This can enhance an image beautifully, but it also means you have to consider how stitch direction and density will affect the final look.
Understanding these challenges is the first step to overcoming them. The goal isn't to create a perfect photographic replica in thread, but rather an artistic interpretation that captures the essence and emotion of the original image.
Step 1: Choosing the Right Photo for Success
Your entire project hinges on this first choice. The right photo will make the conversion process smoother and the final result more impactful.
The Perfect Candidate:
-
High Contrast: Photos with strong lights and darks, where the subject clearly stands out from the background, work best. Think of a black dog against a light wall or a bright flower against dark soil.
-
Simple Composition: Avoid busy, cluttered backgrounds. A tight crop on a single subject (a face, a pet, a classic car) is far more effective than a wide-angle group shot.
-
Good Lighting: Well-lit photos with clear shadows and highlights have the natural contrast that digitizing software and artists need to interpret shape and form.
-
Emotional Clarity: Choose a photo that has a clear emotion or focal point. A smiling portrait, a curious animal tilt of the head, or a striking architectural detail will translate better than a vague, distant shot.
Photos to Avoid:
-
Blurry or Pixelated Images: A low-resolution photo will only get worse. Always start with the highest quality image you have.
-
Low-Light or Flash Photos: Grainy, dark photos or those washed out by a camera flash lack the defined contrast needed for a good conversion.
-
Complex Group Shots: Too many small faces will become an indistinguishable mess of thread.
Step 2: The Conversion Paths - From Automatic to Artistic
Once you have your perfect photo, you have several paths to turn it into a stitchable pattern.
Path A: The Automated Online Converter
This is the quickest and easiest method. Websites like [Insert Example Site Name] allow you to upload a photo, adjust some basic settings like size and number of colors, and then automatically generate an embroidery file (like a .PES or .DST).
-
Pros: It’s instant, inexpensive (often free), and requires zero skill.
-
Cons: This is a classic "you get what you pay for" scenario. The software makes all the decisions, often resulting in a chaotic mix of stitches, too many unnecessary color changes, and a final design that may not sew out well. It’s best for very simple, graphic-like photos where you’re not overly concerned with professional quality.
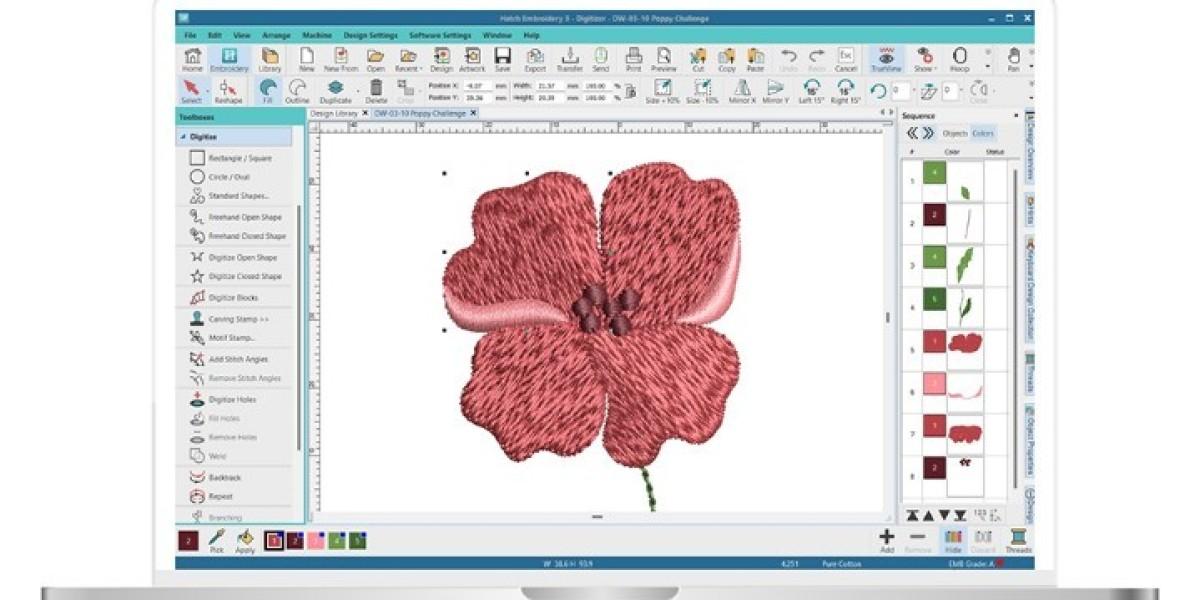
Path B: Using Specialized Software
This is for the dedicated crafter who wants more control. Software like Hatch Embroidery, SewArt, or Embrilliance offers photo conversion tools that are far more powerful than online converters.
-
Pros: You can control the number of thread colors, simplify the image before converting, and, most importantly, edit the design after the automatic conversion. You can clean up messy areas, change stitch types, and optimize the design for stitching. This is the best middle-ground option.
-
Cons: There’s a cost for the software and a learning curve to overcome.
Path C: Hiring a Professional Digitizer
For a cherished photo that you want turned into a true heirloom piece, this is the best investment. You send your photo to a skilled digitizer on a platform like Etsy or a dedicated embroidery digitizing service.
-
Pros: You get a professionally crafted design file guaranteed to sew out perfectly. The digitizer will use their artistry to interpret your photo, selecting the right stitches and colors to create a stunning, sewable pattern. They handle all the technical headaches.
-
Cons: It is the most expensive option per design and requires communicating your vision to someone else.
Step 3: Prepping for Your Stitch-Out - Pro Tips
Whether you use a converted file or a professional one, these tips will ensure your stitching success.
-
TEST ON SCRAP FIRST! This is the golden rule of embroidery. Never run your precious photo design on your final project fabric first. Hoop up an identical scrap piece of fabric with the same stabilizer and do a test run. This will reveal any issues with tension, density, or design errors.
-
Stabilizer is Your Best Friend: Photo designs often have large filled areas that can pull and pucker the fabric. The right stabilizer is non-negotiable. For most projects, a medium-weight cut-away stabilizer will provide the permanent support needed to keep your artwork looking pristine for years.
-
Thread Choice Matters: Use high-quality polyester or rayon embroidery thread. It has a consistent thickness and a beautiful sheen that brings your photo to life. Cheap thread can break, fray, and produce inconsistent colors.
-
Embrace the Hoop: If your design is larger than your hoop, you’ll need to hoop the fabric perfectly taut and use your machine’s repositioning features (like a Jumbo Hoop or Magnetic Hoop) carefully to avoid unsightly lines or gaps.
Step 4: Stitching with Mindfulness
As your machine brings the photo to life, pay attention.
-
Watch the Tension: Ensure the thread tension is balanced so that the top thread isn’t pulling the bobbin thread to the top or vice versa.
-
Manage Thread Changes: Photo designs can have many color changes. Stay organized to avoid mistakes.
-
Trim Jump Stitches: After the design is finished, you’ll need to carefully trim the long "jump stitches" that connect different colored sections. A pair of fine, sharp snippers is essential for this clean-up work.
Conclusion: Weaving Memories into Art
Transforming a photo into an embroidery pattern is a magical process. It moves a memory from the digital, ephemeral world into the physical, tactile world. It’s no longer just an image on a screen; it’s a textured, tangible piece of art you created, infused with time and care.
While the path from photo to pattern requires patience and a willingness to learn, the result is unparalleled. A converted photo embroidery piece is a conversation starter, a heartfelt gift, and a personal masterpiece. So find that special photo, choose your path, and start stitching your memories into something that will last a lifetime.